Configure Custom Domain
Prerequisites
- Project deployed on Vercel
- Domain registered and managed on Cloudflare
Steps
1. Add Domain in Vercel
-
Log in to the Vercel dashboard.
-
Select your project.
-
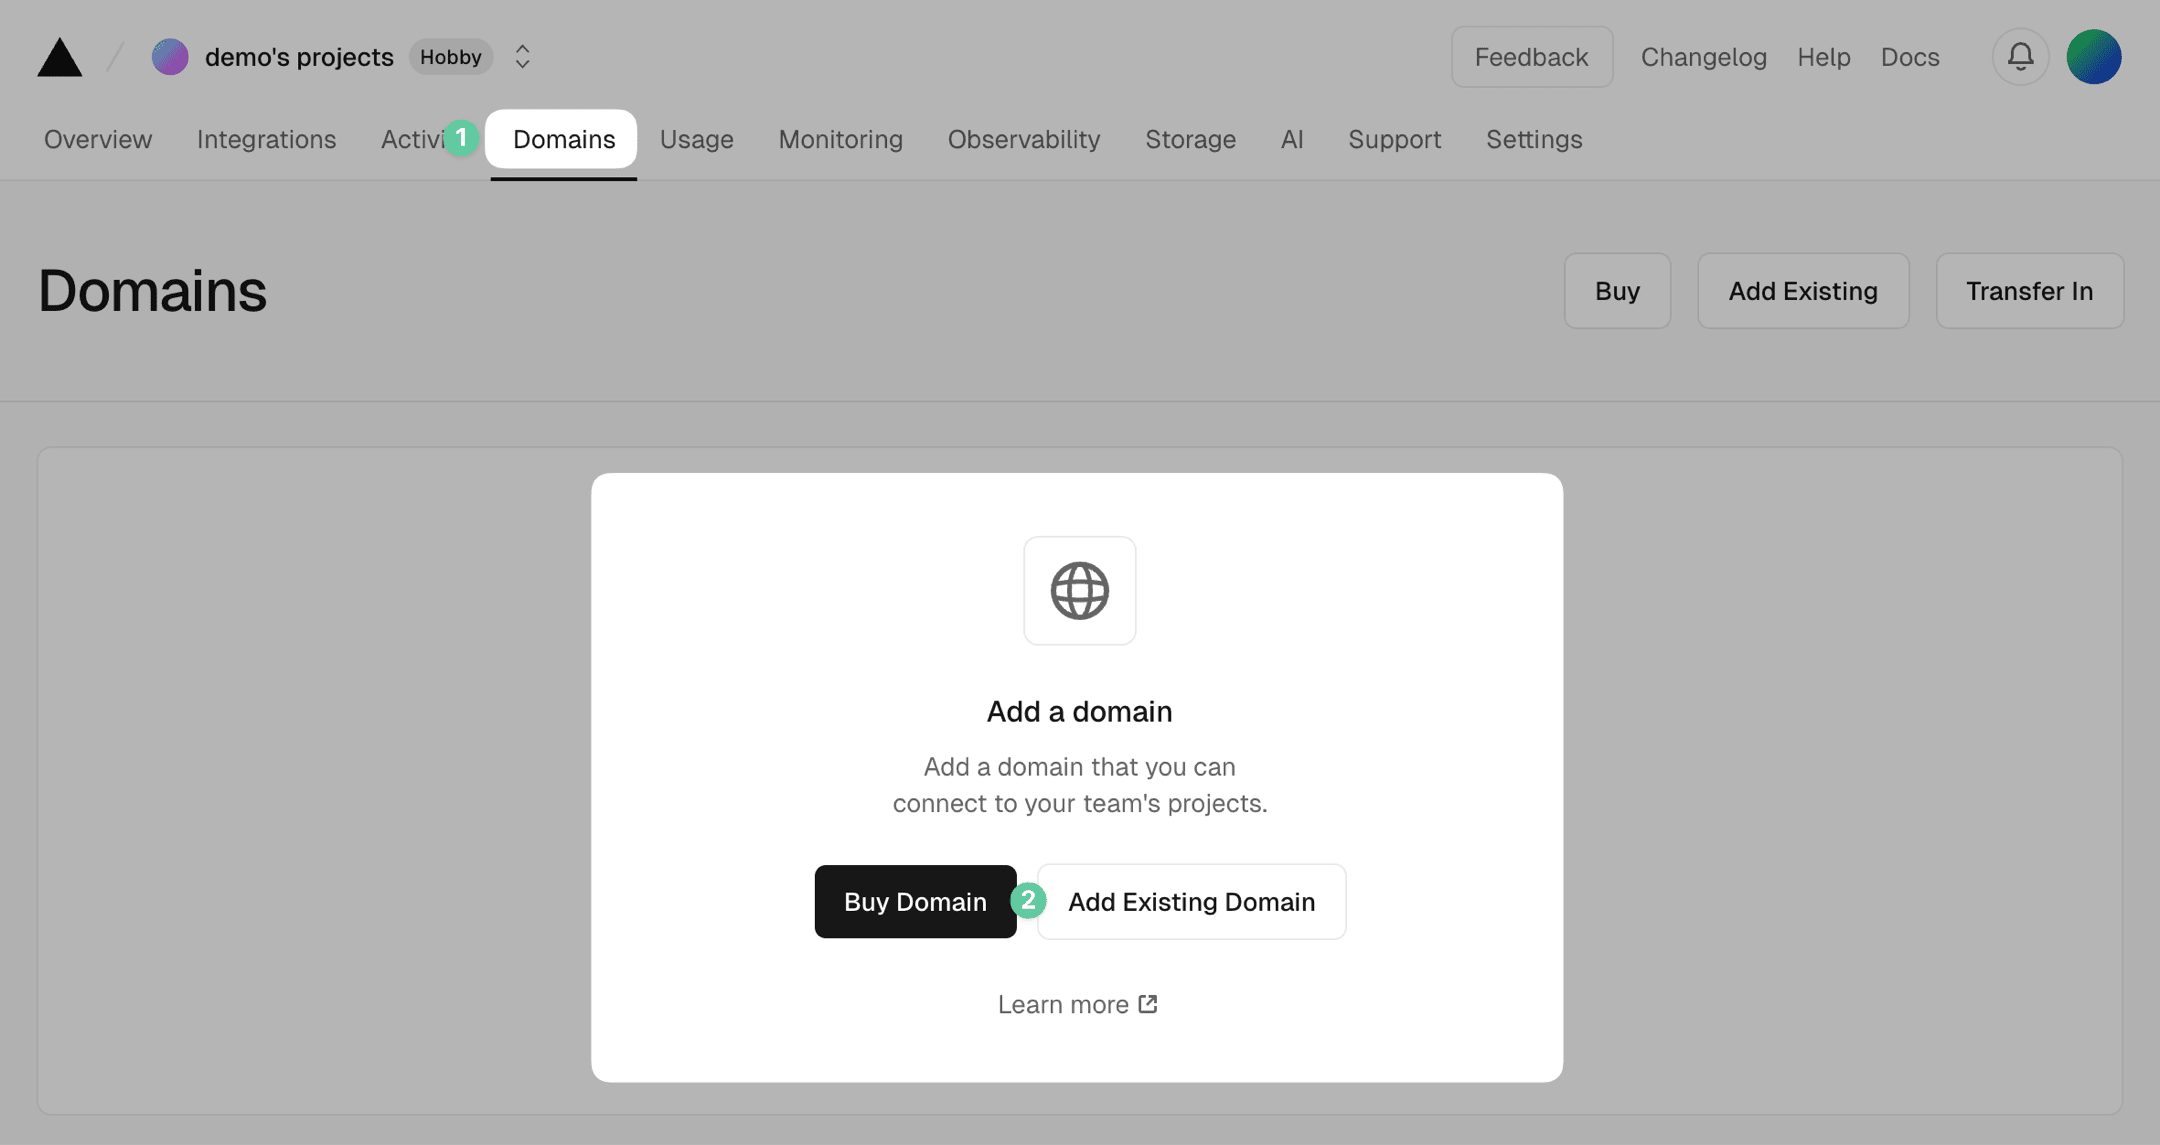
Navigate to the Domains tab.
-
Click Add Existing Domain.
-
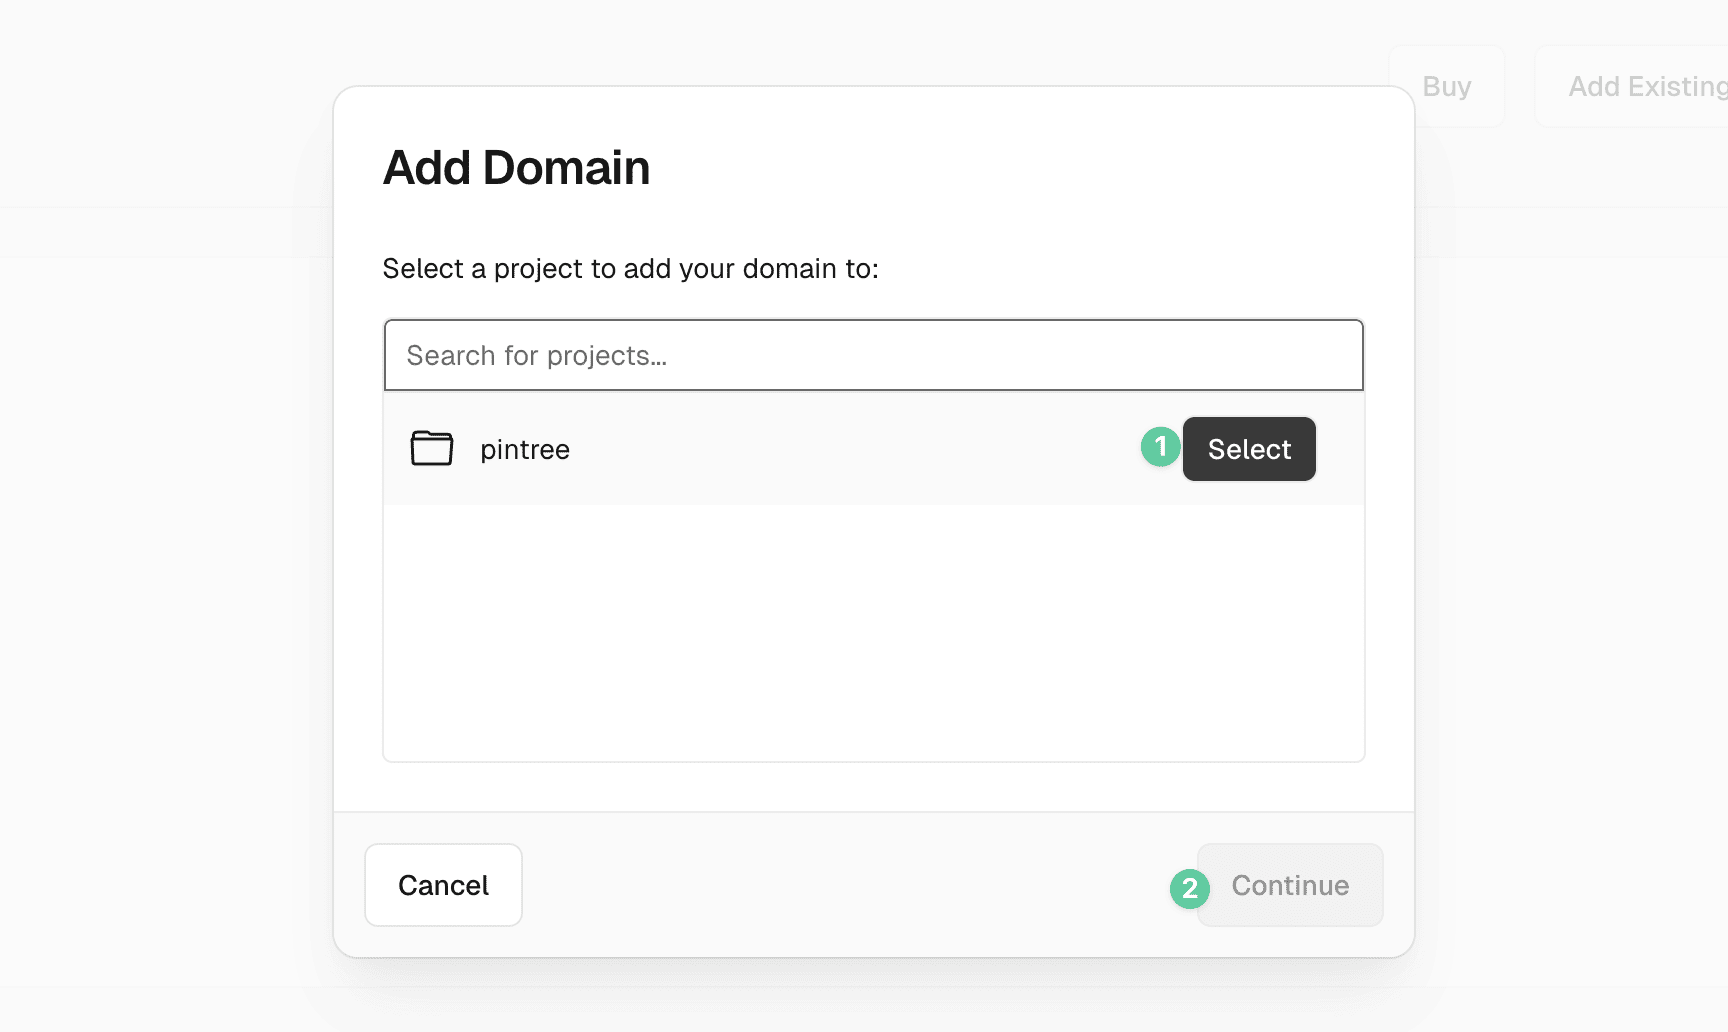
Select a project to add your domain to
-
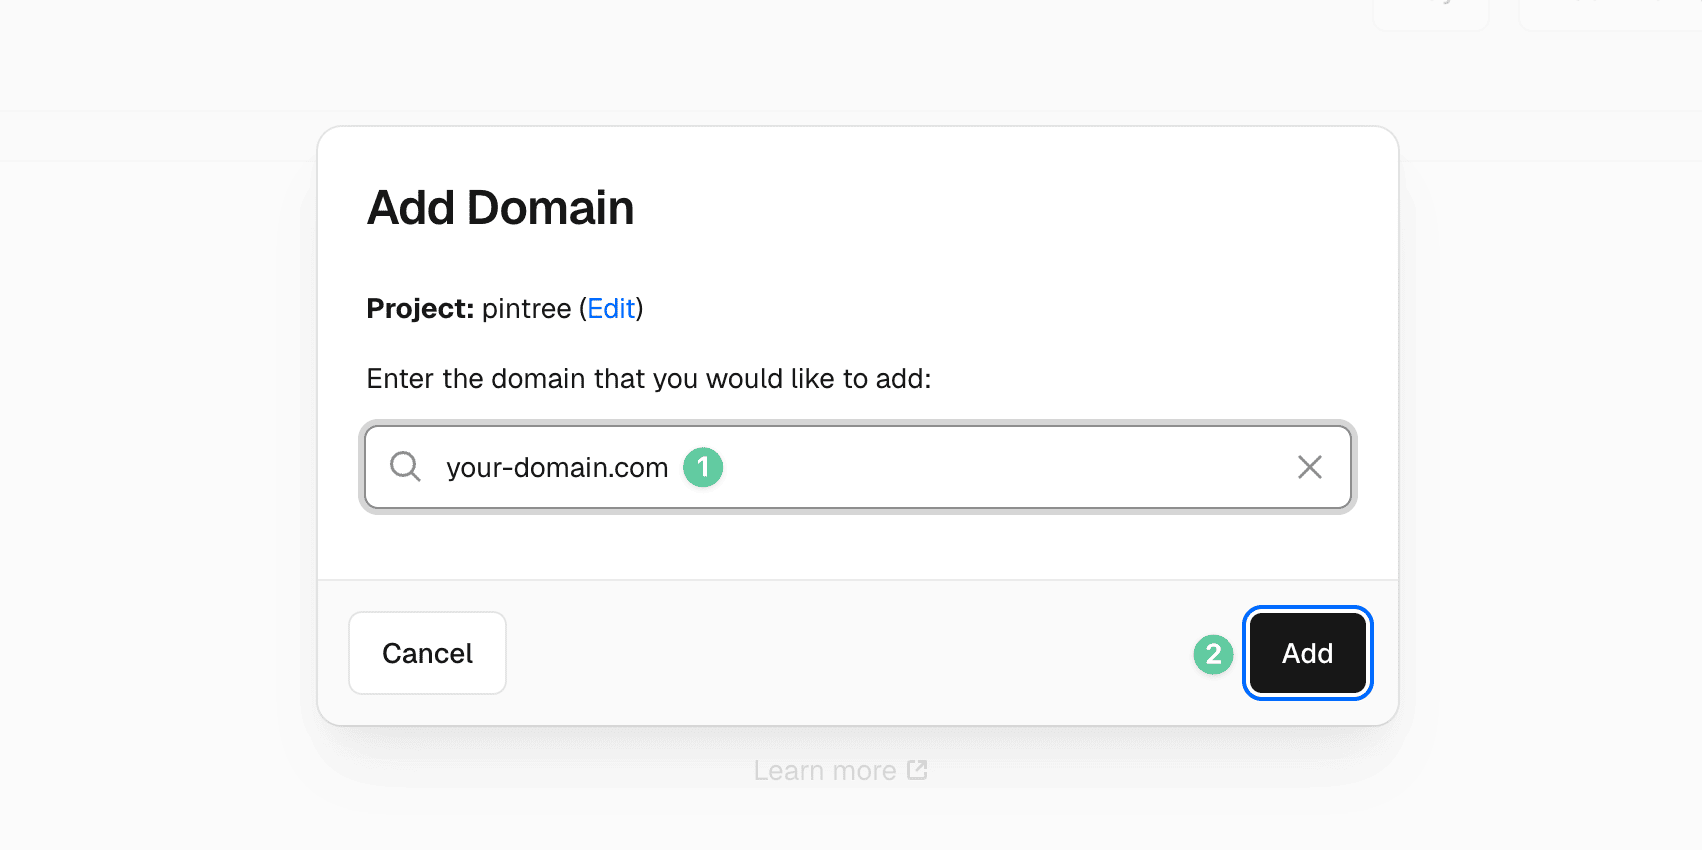
Enter your domain (e.g., your-domain.com) and click Add.
2. Configure DNS in Cloudflare
-
Log in to the Cloudflare dashboard.
-
Select your domain.
-
Navigate to the DNS tab.
-
Add the records prompted by Vercel (for example):
-
CNAME Record:
- Name:
www - Target:
cname.vercel-dns.com - TTL: Auto
- Proxy status: DNS only
- Name:
-
A Record (optional, for root domain):
- Name:
@ - Target: IP address provided by Vercel (can be found in the Vercel dashboard)
- TTL: Auto
- Proxy status: DNS only
- Name:
-
3. Verify Domain
- Return to the Vercel dashboard.
- In the Domains tab, click Refresh.
- Once all DNS records are correctly configured, Vercel will verify your domain.
Notes
- Ensure that the proxy is disabled in Cloudflare (set Proxy status to DNS only) to avoid conflicts with Vercel’s SSL configuration.
- DNS records may take some time to propagate, so please be patient.
After completing the above steps, your custom domain should be successfully configured and pointing to your project on Vercel.